Lock Basics 101
After our near-miss yesterday, I thought it beneficial for all to do a quick dummies guide on how to safely operate a lock! Not that we are experts by any stretch of the imagination.. but we have operated over thirty so far, but all of these have been going upstream which is easier than going down we are told. Of course, the locks are used to join different sections of the canal which are at different water-levels (different heights). Sometimes the difference is only a meter or so, sometimes the water level differs between the two sections by more than two and a half of metres.
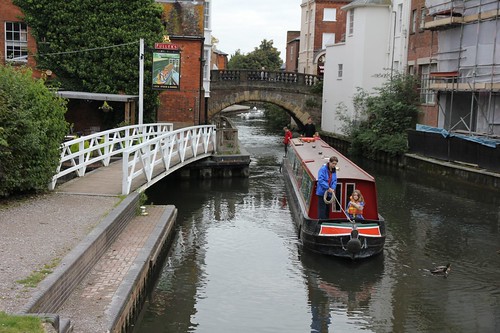
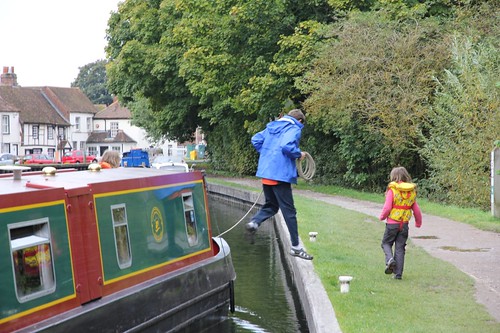
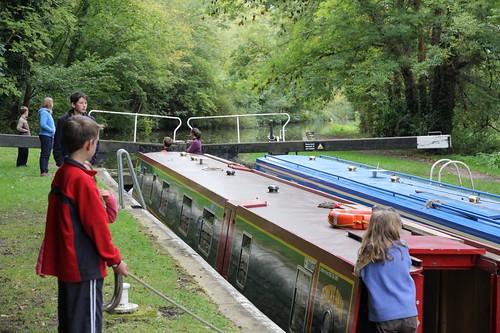
The first task when approaching a lock is to look for the white mooring bollards which are always provided near the lock. We typically tie up at these to allow the lock-operators off the boat, and also to allow all the kids to get off the boat (so they are not on board if anything goes wrong!). You also need the boat to wait here until the lock has been emptied and the lock gates opened for you. Going upstream, you bring the bow of the boat into the side first. allow the front rope handler to jump off and get a rope ready to go around a bollard… then slow the boat down and bring the stern in alongside the siding so the rear rope handler can jump off and get a rope around a second bollard – and then tie off both ropes.
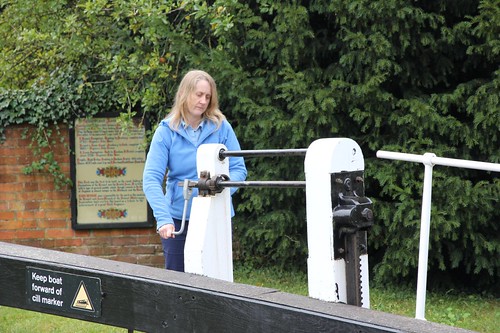
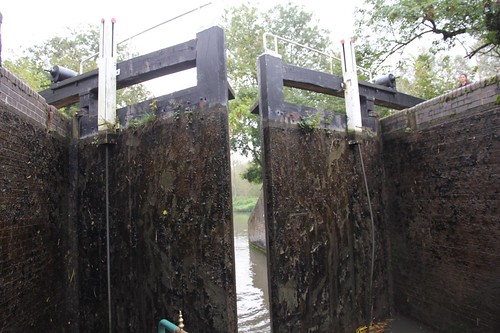
The lock operators walk up to the lock and firstly check there isn’t another boat waiting to use the lock upstream. Given the all clear, you then need to empty the lock. Each lock has two pairs of gates, and the water between the two gates is the lock itself. If the lock is full of water, emptying it simply means opening the paddles on lower lock gate whilst the top gates are shut. The paddles are small sliding sections of the lock which let water flow through while the lock gates are still shut. The paddles are operated by using a pair of winding arms which are stored on each boat. The paddles are easy to raise, but lowering them on some requires you release a ratchet and manually hold it open whilst slowly winding the paddle down in a controlled fashion. Not easy for little arms to do.
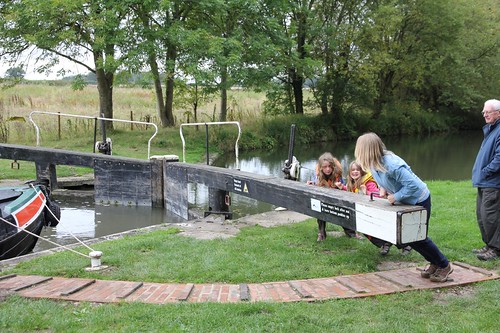
Once the lock is empty, the paddles can be closed again and the lock gates can be opened by heaving with all your might against the gate arms. The gates are HEAVY, and it takes a good bit of shoving to open them! Once the gates are open, the boat can be carefully manoeuvred into the lock – after the rope handlers have untied both bow and stern ropes and the front rope handler has given the bow a good shove towards the middle of the river (not easy with a boat 70 feet long!).
You can’t go racing into the lock because you need to carefully stop BEFORE you hit the cill on the upstream pair of lock gates. The cill is the concrete base of the lock gates which is exposed when the lock is empty. In actual fact, the real danger is when coming downstream to avoid having the stern of the boat over the cill when the lock is emptied. If you do this, the rear of the boat catches on the cill and tips the bow of the boat under water. Not recommended!
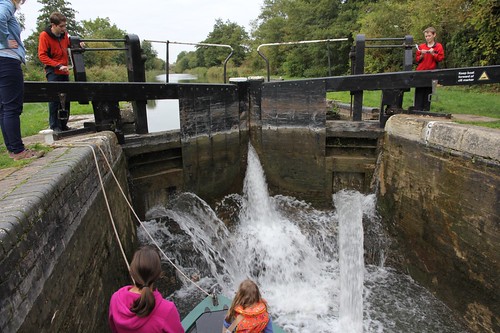
With a boat our size, we often have to bring the bow of the boat right up to the cill in order to be able to close the lock gates behind it. We have two rope handlers in the boat front and rear who throw ropes up to two more rope catchers on the bank besides the lock. The rope catchers put the rope around a bollard front and rear, then pass the ropes back down to the rope handlers in the boat so they can keep tension on the ropes to secure the boat in the lock. Much easier than it sounds :-).
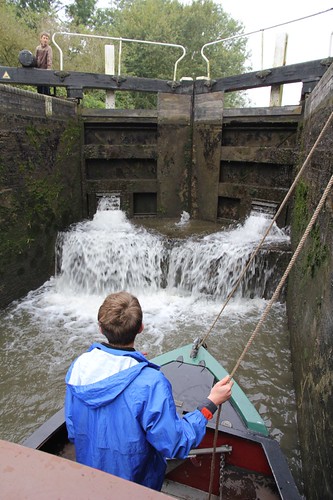
With both lock gates shut, and the boat positioned in the lock between them, the trickiest part of the operation commences – flooding the lock. This is done by opening the flood paddles on the upstream lock gates. Some locks have paddles that are below the water line even when the lock is empty so flooding is easy. Many locks have the paddles directly above the cill – which means that the water bounces off the cill when the paddles are opened – threatening to pour into the bow of your boat as we found out yesterday! (and another boat user discovered last week when their boat did sink). The trick is to position your boat as far away from the cill as possible, and open the paddles SLOWLY!
When the lock is full (which takes three or four minutes or even longer if you are going really slowly!), you can then open the upstream lock gates, cast off the ropes and motor to the bollards on the other side of the lock to pick up all crew. Simple eh? YEAH RIGHT. Not the first few times, although by lock 30 we are getting pretty good, although I wouldn’t like to do this with only a crew of two!
Tgirl8’s journal entry from today:
In locks you can go very close to the cill. If you go too close to the cill you will have to let the water into the lock very slowly, and if you let the water out too fast you can very easily sink the boat and if the boat does start to sink you need to get on the roof in two minutes. If the boat does not sink you will not need to use these instructions!
Tags: 2012, postcard: England


Just another set of skills to add to your respective CV’s! Sounds like you need to be a coordinated team each doing their own bit carefully. Great photos.
Go team! Thanks for the description. I am looking forward to showing our brood tomorrow 🙂
Wow what a rigmarole! It sounds so simple in theory, but it’s always the finer points that make things complex.. and what a story to tell with your near mishap!